The number of business users allowed varies per QuickBooks Online subscription selected.
Simple Start 1 user
Essentials 3 users
Plus 5 users
You can also invite two Accounting or Bookkeeping professionals. These invitations are not included in the Business user allowance and are available for all subscription plans.
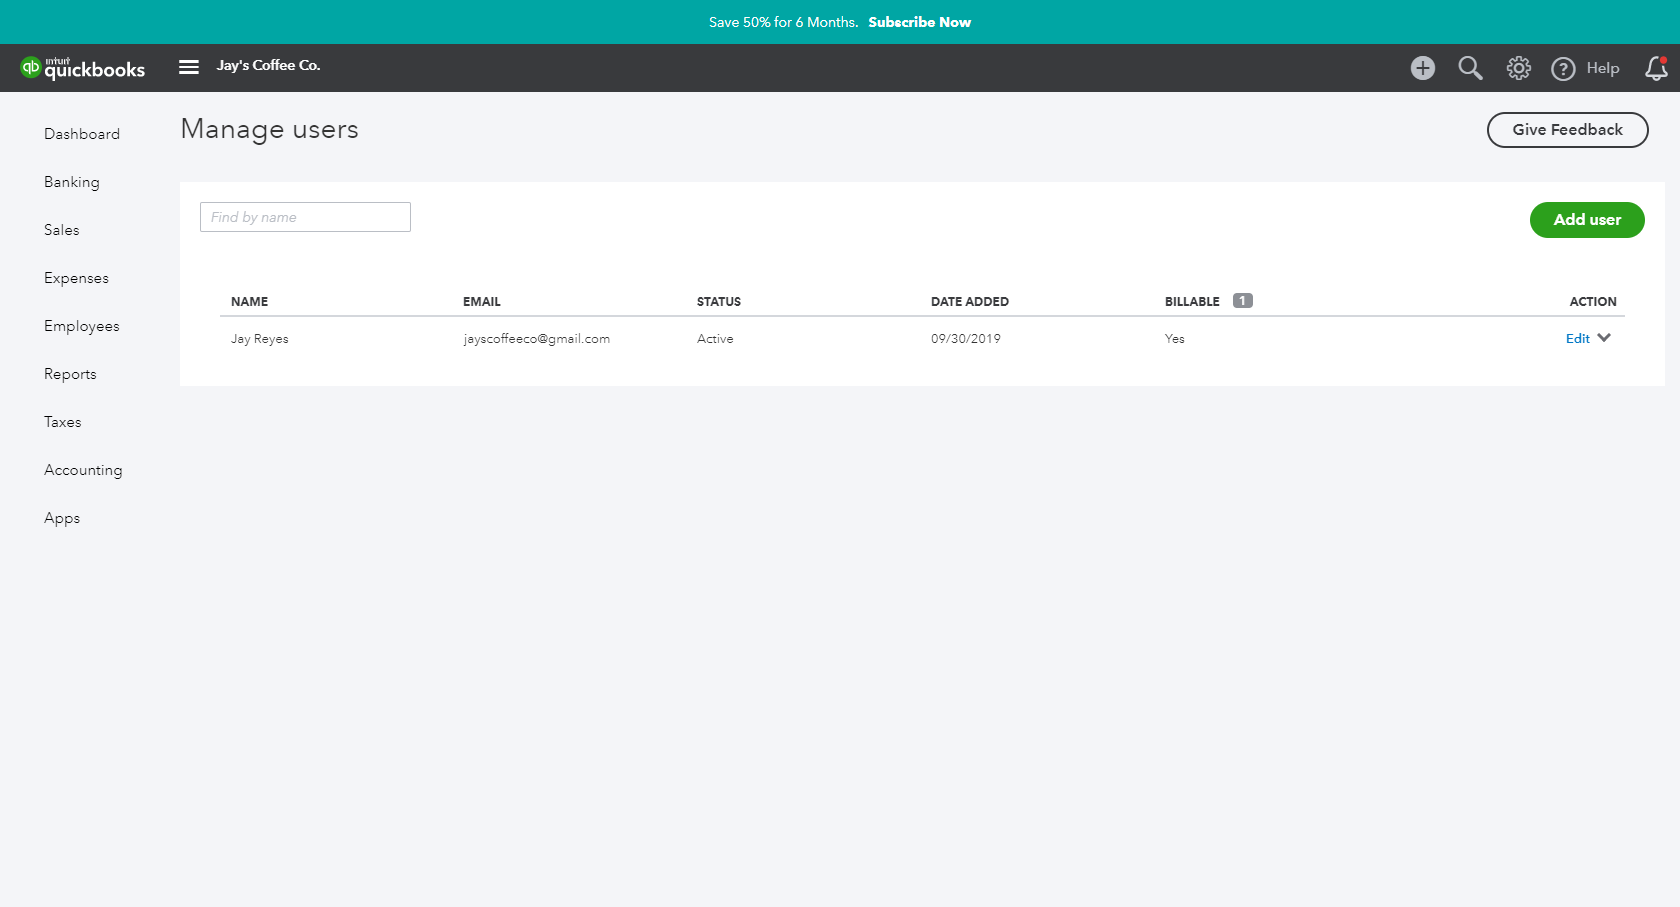
To manage users, select the Gear icon > Your Company > Manage Users.
Here you can see the list of users names, email, status, date added and whether they are billable. Manage Users allows creation, modification or deletion of business users in the QuickBooks Online file.
To add a new user, select Add User and from here you can select your user type and choose their access rights
User roles
When creating or editing a user, assign one of the following types of access rights:
Company AdministratorCompany Administrators have access to all features and capabilities in QuickBooks.Standard User
This is an ordinary user. The person may have access to all QuickBooks features, or you can limit access to:
Customers and Sales
Suppliers and Purchases
You can also choose to give this user some administrative capabilities.
AdministratorYou are the Master Administrator. There is only one Master Administrator. Initially, it is the user who created your company. This user has all the access rights of a Company Administrator. You cannot delete or change the access rights for the Master Administrator. However, you can transfer the Master Administrator role to another user and then edit or delete this user.Time Tracking OnlyWhen Time Tracking Only users log into QuickBooks, they see a special version that has only timesheets for themselves and time reports. This user doesn't count toward your current user limit.Reports OnlyWhen Reports Only users log into QuickBooks, they see a special version that shows only reports. They can access virtually all reports, except payroll reports and any others that list the contact information of employees, customers, or vendors. This user doesn't count toward your current user limit.Accountant user
You can also identify one user as your accountant. The accountant does not count toward your current user limit.
The accountant user can have any of the access rights, but you probably want to give your accountant regular or custom access.
You can have only one user identified as your accountant, but you can invite another accountant to access your company. To do this, under Accounting Firms, click Invite Accountant. This user does not count toward your user limit.
A Standard user can have access to all features, or access can be limited by:
Customers and Sales
Suppliers and Purchases
For example, a Standard User with restricted access to Sales Centre is set up as below:
In the Manage Users window, select New
Select Regular or custom user
Select Next.
Set this new user’s access rights as Limited for Customer & Sales
Set the user settings
The standard user role is the only user access role where you can set restrictions on the billing, user management, and settings section of the product.
To complete the user invitation setup, enter the user’s email address and select Next An email will be sent out to the new user to enable the activation of their account.
Remove Hidden Spyware In Minutes For Free
Detect and remove spyware, keyloggers, tracking cookies, and other
threats that slow down your PC or steal your data.
65+ Million Downloads
Spyware scanner with AI-powered detection engine + database
.png)