How to Schedule with video conferencing on Calendly via Webex
Authored by: Support.com Tech Pro Team
1. Introduction
How to Schedule with video conferencing on Calendly via Webex
2. Schedule with video conferencing
Let your invitee choose how to meetFor one-on-one event types, you can connect multiple video conferencing platforms and let your invitee choose their preferred way to meet.
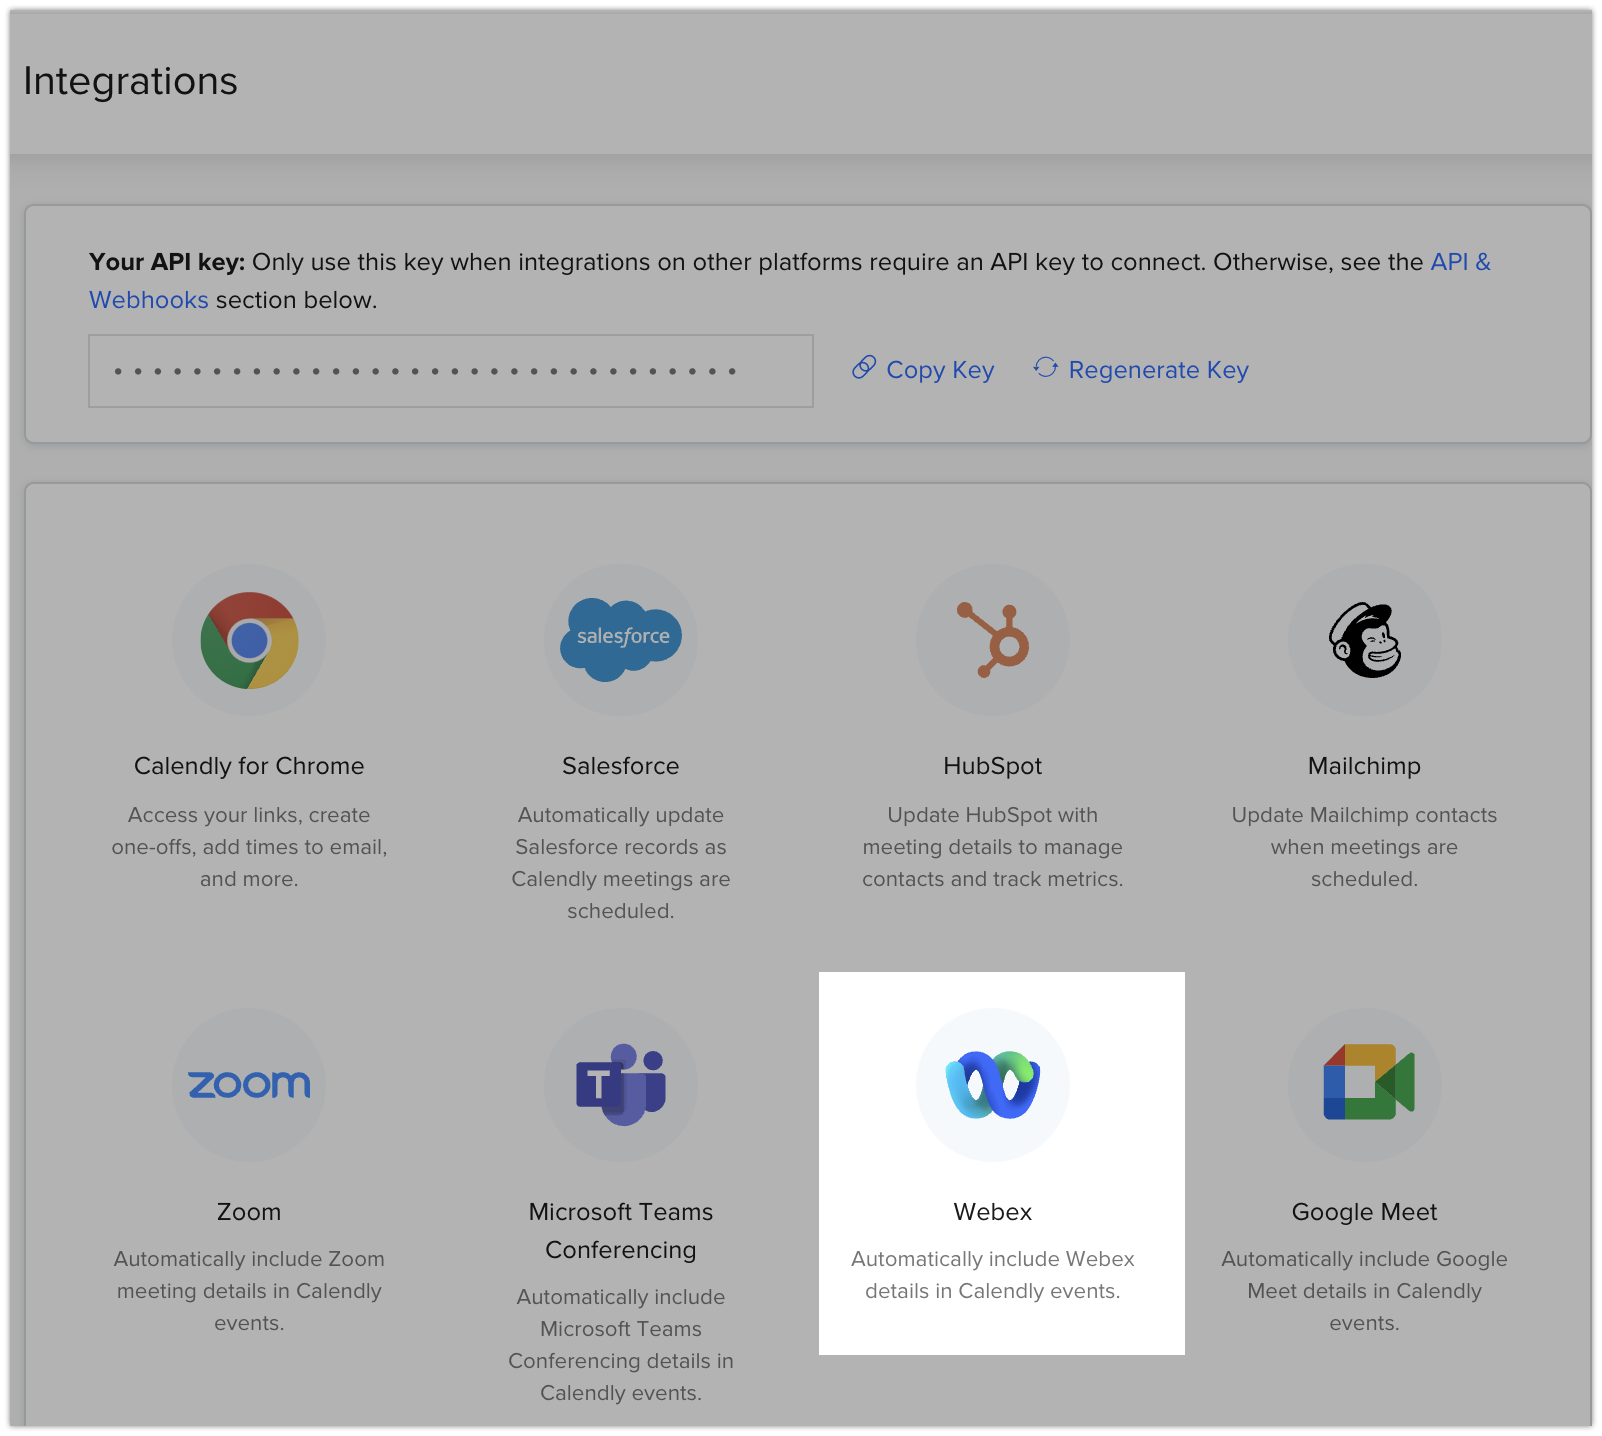
Select Accept to let Calendly access your Webex account. Note: If you check the Only ask when requesting new permissions, then you will not see this message again when reconnecting.
Step 2: Select Webex as your location
Once you've connected, you'll be redirected to Calendly. You'll see a message prompting you to set Webex as your location for your event types. To do so, follow the steps for the relevant event type:
From your Home page, select the event type you want to use Webex with.
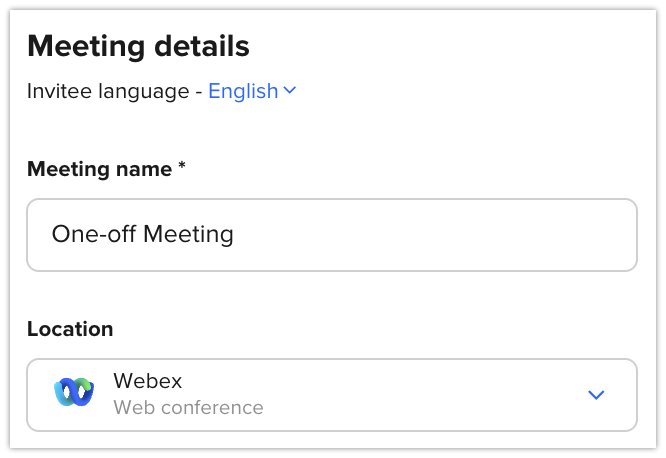
Select What event is this?
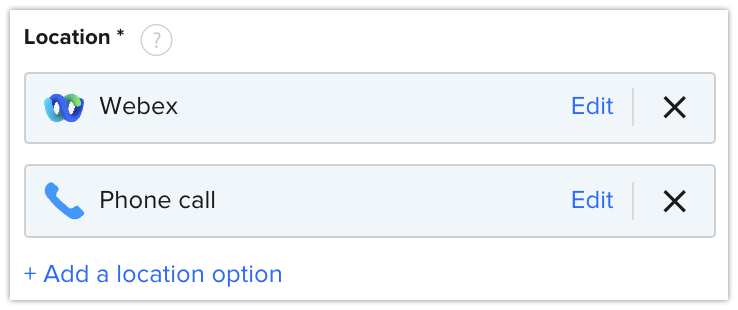
From Location, select Webex. Tip: For one-on-one event types, you can select add a location option to give your invitee multiple locations to choose from.
Select Save & Close.
Repeat these steps for each event type you'd like to use Webex with.
From your Home page, select the round-robin or collective event type you want to use Webex with.
Select Team Members & Location or Hosts & Location.
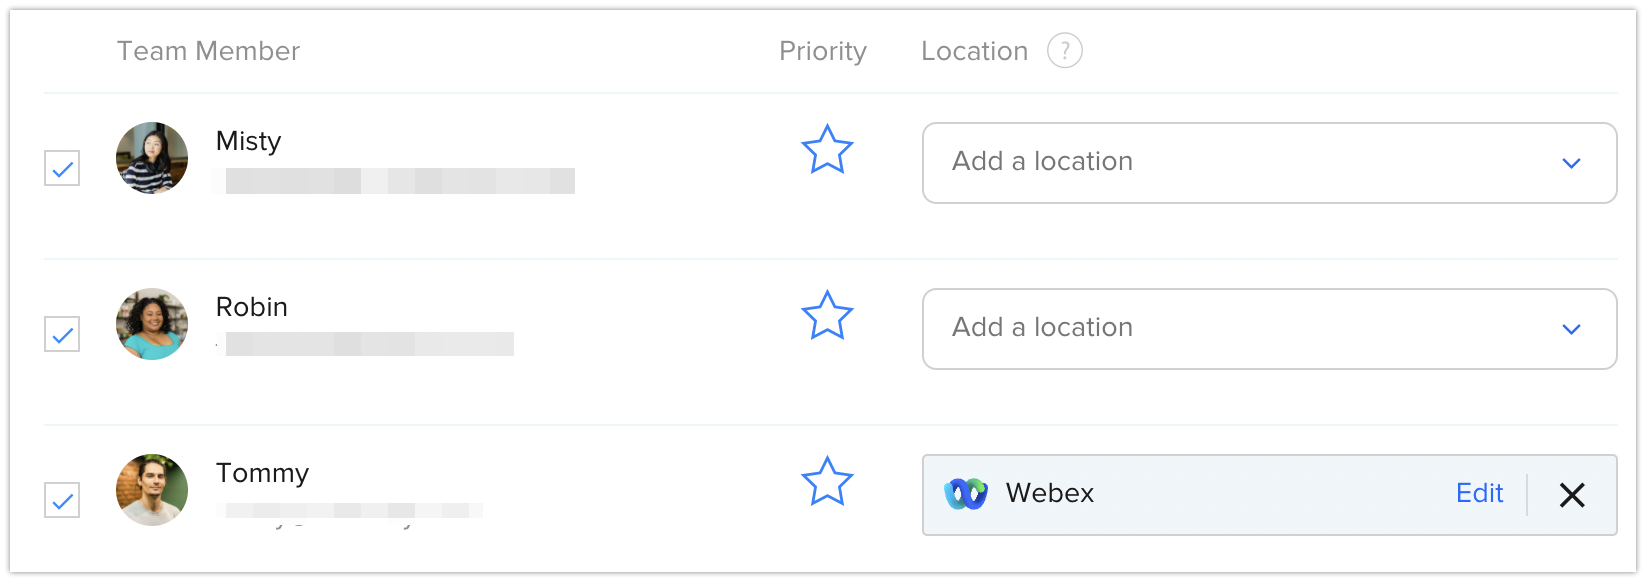
For round-robin events: 1. Under Location, select Webex for each team member who'd like to schedule with Webex.
The team member must complete Step 1: Connect your Webex account before they can schedule with Webex. An admin or owner cannot connect on their behalf.
For collective events: 1. Under Location, select Webex. 2. Select the Webex organizer. Note: As the Webex organizer, your Webex account will be used to host the meeting. You can change the Webex organizer later, as long as the other user has connected their Webex account to Calendly.
Select Save & Close.
Step 3: Meet with Webex
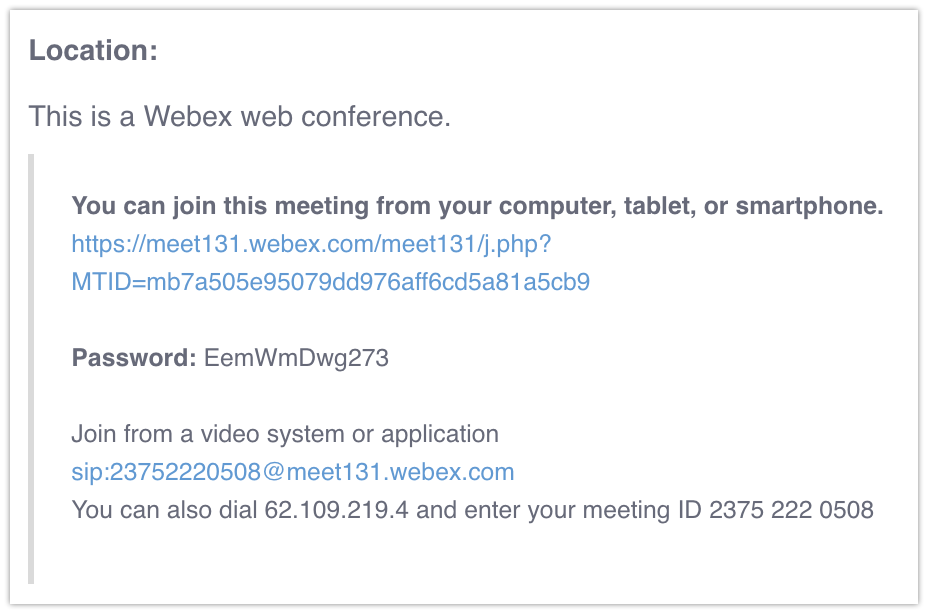
After your invitee books, you and your invitee will receive Webex details via confirmation email and calendar event. In your meeting details, Calendly will automatically generate a Webex URL and a SIP email address (for video systems):
If you have a paidWebex account, your meeting details will also include a US dial-in number and a URL to find your local number (for international invitees).
Remove Hidden Spyware In Minutes For Free
Detect and remove spyware, keyloggers, tracking cookies, and other
threats that slow down your PC or steal your data.
65+ Million Downloads
Spyware scanner with AI-powered detection engine + database
.png)